
How to set up IP Passthrough
Background: IP Passthrough allows the router to act as a bridge, passing the IP address it receives from the carrier to one attached device. Once the router is in IP Passthrough mode, using the IP will only reach the end device and remote access to the router can only be achieved through one of our cloud platforms. This feature is useful for allowing remote connections to a device connected to the router.
Note 1: Before setting up IP Passthrough, the router must be receiving a public IP from the carrier. In order to test this, go to Status>Network Connections. Under Cellular/Dialup>IP address, input that IP address into a new tab/window on the browser and if it reaches the router login page, then that means IP Passthrough can allow remote connection to the end device.
Note 2: Only one device will receive the IP address, if there are two devices attached, the other one will not get internet. You can specify which device to pass the IP to by changing IP Passthrough Mode to DHCP Fixed MAC, and setting the MAC address.
1. Connect PC to router via Ethernet and log in on 192.168.2.1 using default credentials (adm/123456)
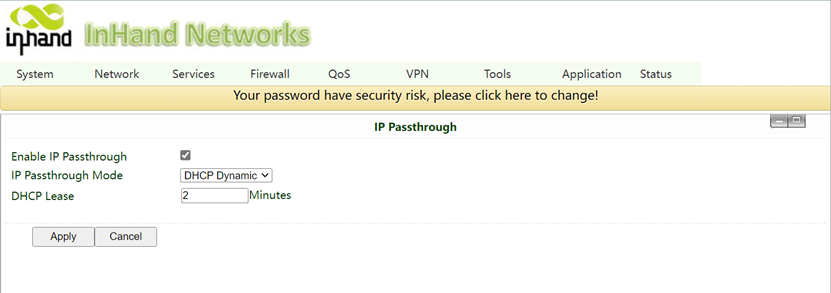
2. Go to Network->IP Passthrough.

3. Check the Enable IP Passthrough, choose the DHCP Dynamic for IP Passthrough Mode and
apply. Leave DHCP lease at 2 minutes.
4. If PC/device is not getting IP passed, please release and renew the current DHCP lease, restart router or end device, or unplug and re-plug the Ethernet cable to force a new DHCP request.
0 comments
To reply to the article, please Login or registered